5 Things You Very Should Do Before You Start Every Paint Project and Paint Tools Buying Tips
When it comes to paint projects, the preparation is just as important (maybe even more important) than the actual paint application.
If you don't patch and sand the surface properly, you could end up with very visible holes and rough spots. And if you don't tape off the trim, you could wind up with giant paint splotches that need to be scraped away or painted over.
And if you're aiming for smooth walls with a streak-free coat of paint, here's how to prep walls for painting—the very right way. Spend the time on painting prep now, and you won't experience painter's remorse later.
The right paint applicator can make just about any paint job easier. Whether it's brushes, rollers, paint pads or sprayers, we'll help you figure out the best tools for your next paint project.

1.Repair any holes and clean the wall
Even tiny holes can appear magnified once you have a fresh coat of paint on the wall. To avoid the regret down the line, take the time to patch any holes now.
Once the spackle is dry, sand it lightly until the surface is smooth. Remember to use a damp cloth to clear away any dust before painting, otherwise the debris will get caught in the wet paint.
When you're eager to jump into the fun part—painting! And it's tempting to skip over cleaning the walls. But if you haven't dusted your walls in a while, you'd be surprised how much debris has likely collected on the surface.
Start by using a vacuum cleaner to suck up any dust or pet hair along the baseboards, trim, or molding. And then, working from the top of the wall down, dust with a barely damp cloth. The last, you'll want to make sure the surface is dry before you begin painting.
2.Please don't forget the tape of painter
Unless you're a pro at cutting in, painter's tape is your best friend. Use it to tape off the trim, molding, floor, or any other surfaces you don't want to get paint on.
Bonus: you can work a little faster when you don't have to worry about painting a perfect line. Remove the painter's tape while the paint it still slightly tacky to avoid ripping dried paint off later.
3.You must start with the primer
Primer isn't just helpful when you're going from a dark paint color to a light one—it can actually help hide unevenness and imperfections on the wall +plus, if you're painting a smooth or shiny surface, such as kitchen cabinets, primer will help the paint adhere.
4.Consider caulking and get out tarps
We are aware of which, if you have any visible gaps between the wall and trim, now is the best time to apply paintable caulk. Because of dry and painted, the caulk will create a seamless look, while eliminating likely hiding spots for bugs.
And if you can't easily remove furniture from the room, play it safe in case of paint splatters by covering them with tarps. Also remember to roll up rugs and clear anything you can from the area.
5. Gather your supplies
When you really start painting, you won't want to stop to search for that spare tarp you forgot about. Before you begin, take stock of your supplies.
And then check for brushes in the correct sizes, paint rollers and trays, spray guns and Straight floor Notched Serrated Squeegee in Steel Frame, stirrers, a can opener or screwdriver, painter's tape, tarps, and a rag to wipe away spills or splatters.

6. Paint tools buying tips
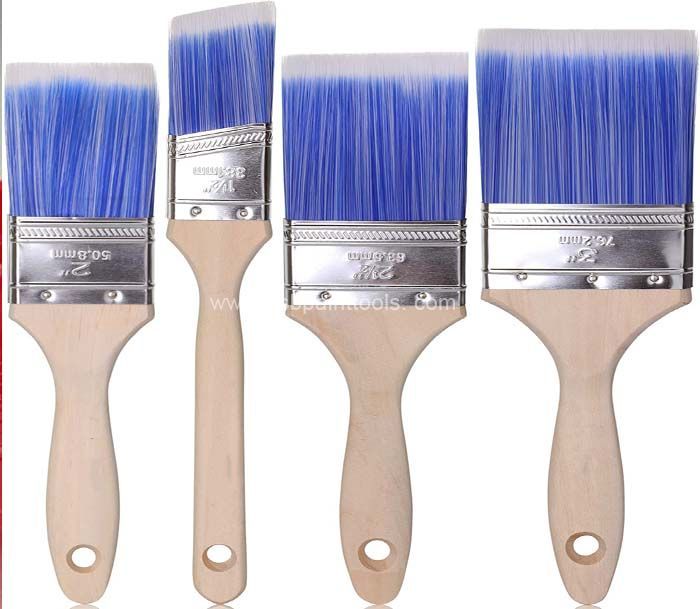
Brush Tips:
The better quality of brush or roller you buy, the better results you'll get.
Dampen a synthetic brush before use. Paint will be less likely to dry on the brush.
Don't overload a brush with paint. The application will be smoother and less wasteful.
Paint with the brush at a 45-degree angle to maximize the bristle's surface area.
For a better finish, paint from the area just painted towards the unpainted area. Painters call this "wet to dry."
Dip the bristles 1/3 of the way into the paint; any deeper will waste paint. Tap the side of the brush on the inside of the can to remove excess paint.
If you need to stop for an hour or so, position the brush in the paint to cover the bristle tips. For longer interruptions, wrap the brush in aluminum foil or plastic wrap, and put it in the freezer for oil-based paints. If you're using latex, the refrigerator will be fine.
Before cleaning, remove remaining paint by stroking the brush back and forth on newspaper. Before storing, remove paint with the proper thinner.
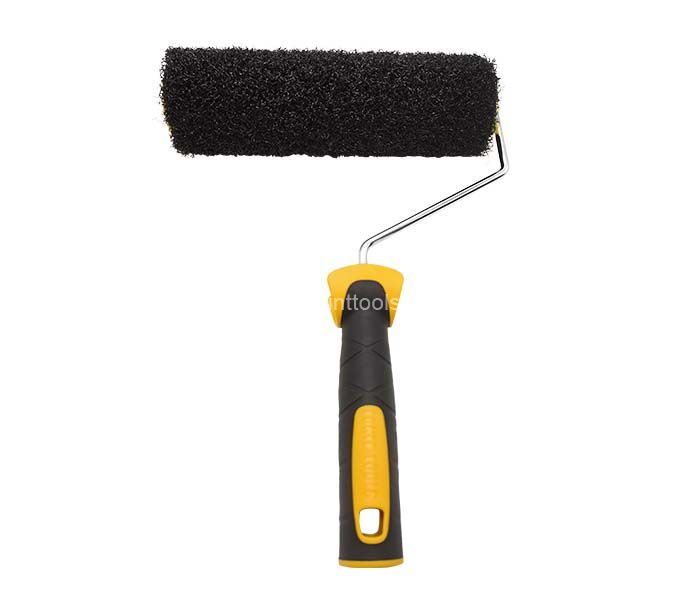
Roller Tips:
Moisten before use with water or thinner to prevent paint from drying on the roller.
Load the roller with paint from the slanted edge of the tray to prevent overloading.
Paint in the shape of the letter W. Start by moving the roller away from you. Without lifting the roller from the wall, fill in the open space.
Don't try to paint too quickly.
To clean a roller cover, roll it back and forth on newspaper. Remove paint with the proper thinner. If you're rinsing out solvent-based paint, wear rubber gloves. Let it dry before storing.
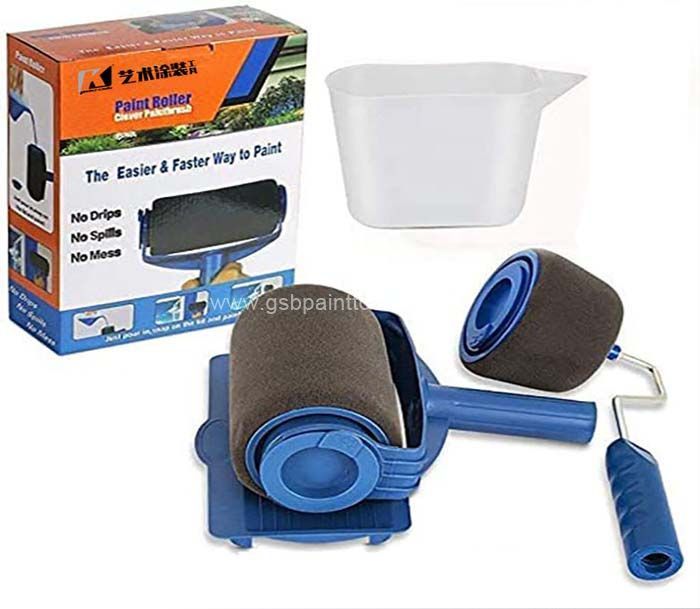
Disposable rollers are available. If you don't plan on repainting soon, you may want to use these to avoid cleanup (especially when using oil-based paint).
Sprayer gun Tips:
Power spray painters require a steady hand and some practice. Try your paint application on a piece of cardboard until you get the hang of it. Hold the applicator parallel to the surface when using.
Invest in drop cloths and tape to minimize rework and reduce cleanup.
Sprayers are available in various sizes and power ratings for specific needs, including paint and stains.
7.Some mistakes everyone makes when painting
There's nothing like a brand new coat of paint to completely transform a room. But with an overwhelming selection of paint options out there and so many ways to make a little misstep, even the most prepared painter is bound to make a mistake. We've found some simple solutions to common painting mistakes so you can learn to paint like a pro.
If you ever find yourself struggling with a paint job, check to see if you're using the right type of brush. Applying water-based latex paint with a natural-bristle brush will result in bristles that are limp from absorbing the water in the paint, making the paint nearly impossible to spread.
While using a quality brush will get you far, achieving a smooth, professional finish begins with determining the proper applicator for the job. Natural-bristle brushes work best with oil-based paints. Synthetic brushes, made from nylon and polyester, are the perfect match for water-based latex paint.
For clean lines and crisp edges, painter's tape is a must. Taping ensures professional-looking results, but when left on for an extended amount of time, can cause peeling paint upon removal. Ideally, tape should be removed about an hour after you've finished painting.
If you've let it sit for too long and the paint starts coming up, you're not out of luck. Use a razor blade to gently score along the edge of the tape as you peel it back. So that, you can also try using a blow dryer to heat up and loosen the adhesive, using your fingers to roll it away from the wall.
Paint doesn't handle extreme temperatures very well, so if you're beginning a paint project make sure you're mindful of the weather. High levels of humidity will slow down the drying time for water-based paints. Freezing temperatures prevent paint from drying evenly, causing cracking and peeling.

Extreme heat will make paint bubble or will dry paint too quickly, leaving you with an uneven finish. If your paint isn't applying properly, check with the manufacturer to see what the optimal temperature is for the paint. You may have to make adjustments, like using a space heater or portable air conditioner, or reschedule your project for another day.
When going from a dark paint color to a lighter one, primer becomes invaluable in preventing the old color from bleeding through. Just as bleed through occurs with drastic color changes, it can also happen when painting wood.
Wood naturally contains tannins, which can migrate to the surface when wet, causing staining and discoloration. You can fix this problem by sealing the wood with a tannin-blocking primer before painting. If there is significant bleed through, consider using two coats of primer before applying the new color.
We know that the space where the wall meets the ceiling doesn't leave much room for imprecision. When tackling this tight space, it's easy to bump the ceiling with the roller, creating a tricky touch-up job. If the paint is still wet, immediately spray some window cleaner on the spot and wipe away.
The best way to prevent this issue is by taping off the ceiling and brushing on a horizontal strip of paint to cover the top five or so inches of the wall. This will give you a generous buffer zone, allowing you to steer clear of the ceiling.